


Install WordPress on your domain name
Definitions
WordPress is a user-friendly platform that helps you create a website. It’s popular for building personal blogs, business websites, online stores, and more.
Before you start
✅ You can install WordPress easily with a few clicks using your WordPress Manager.
⚠️ To install WordPress on your domain name, the domain must be registered, connected to your hosting account, and have updated nameservers or DNS.
ℹ️ To install WordPress on your subdomain, you must first create a subdomain.
❌ Do not share your WordPress login credentials publicly.
Step by step
1. Log in to your hosting control panel
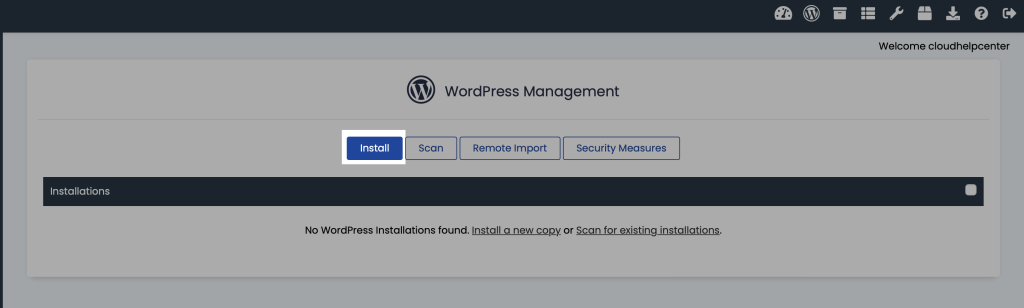
2. Click on the WordPress Manager button

3. Click on the Install button
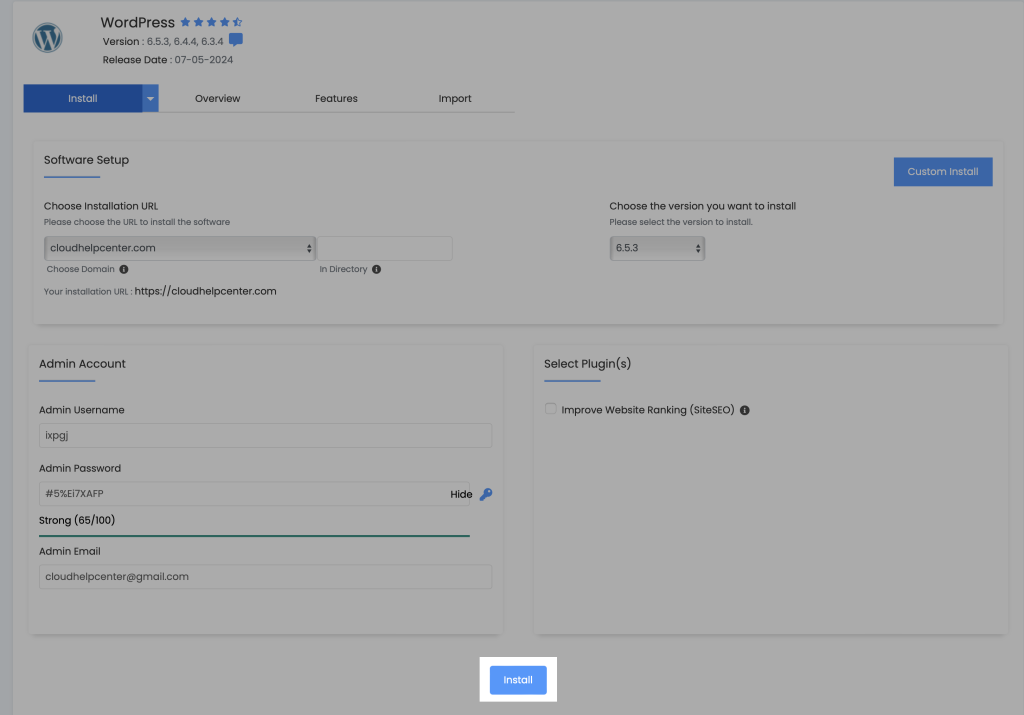
4. In the Software Setup section, click the dropdown under Choose Installation URL and select the domain name you want to install WordPress on
⚠️ Note: If you don’t see your domain listed, complete these steps before continuing: Add a new domain name to your hosting account

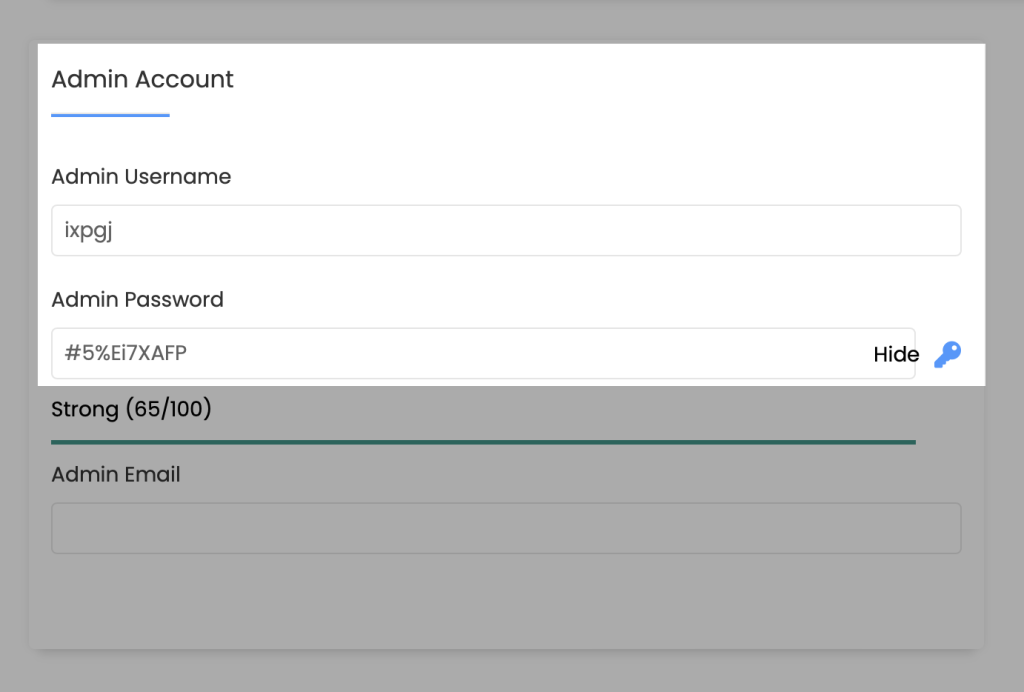
5. Go to the Admin Account section. A secure, random Admin Username and Admin Password will be auto-generated. You can keep these or update them, but be sure to save the credentials securely.
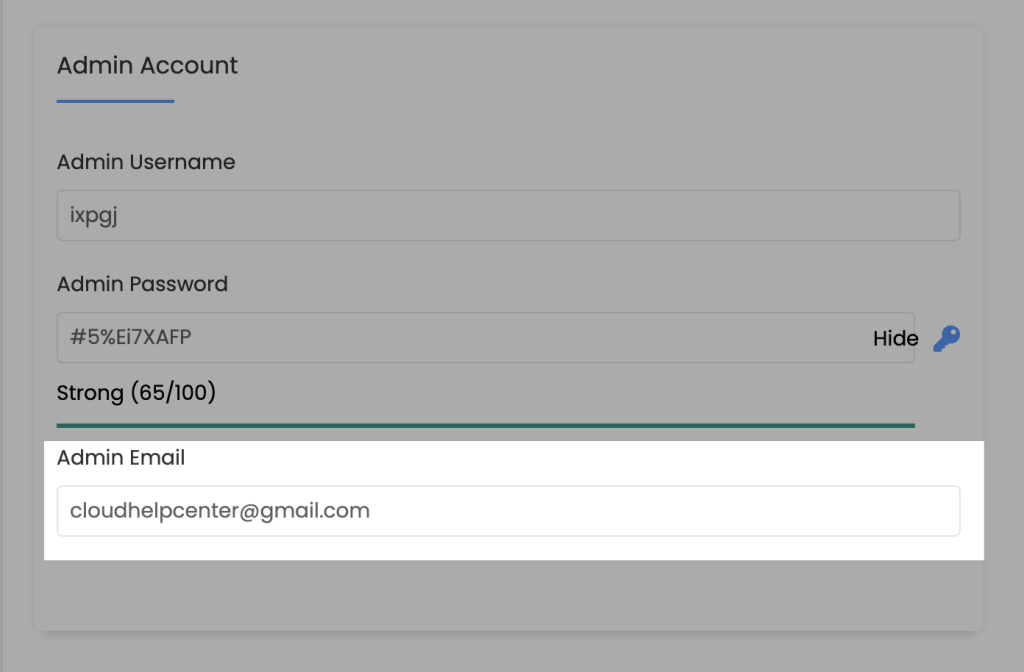
6. In the Admin Email field, type in your email address, this can be any email address you’d like
7. Double-check the fields and once ready, click on the Install button
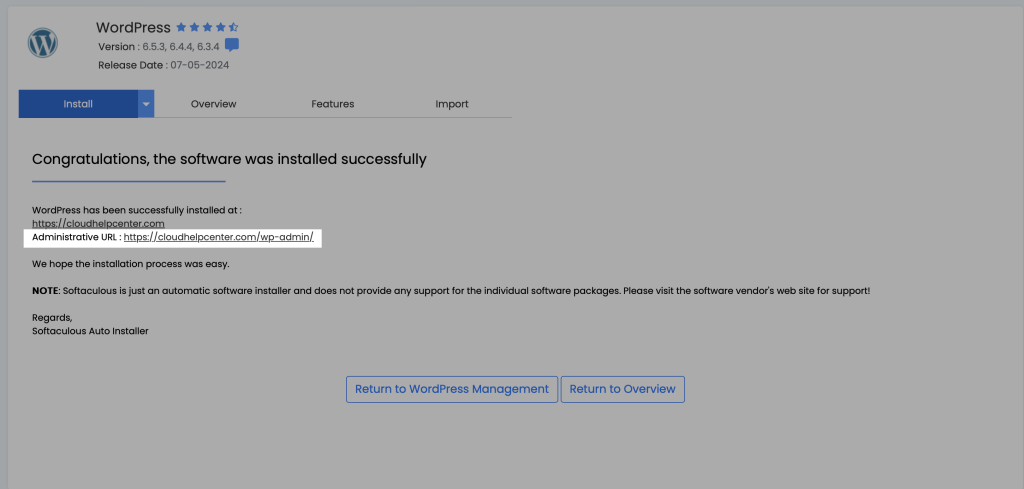
8. You will see a confirmation screen. Note down or bookmark your Administrative URL, which is your WordPress admin login page
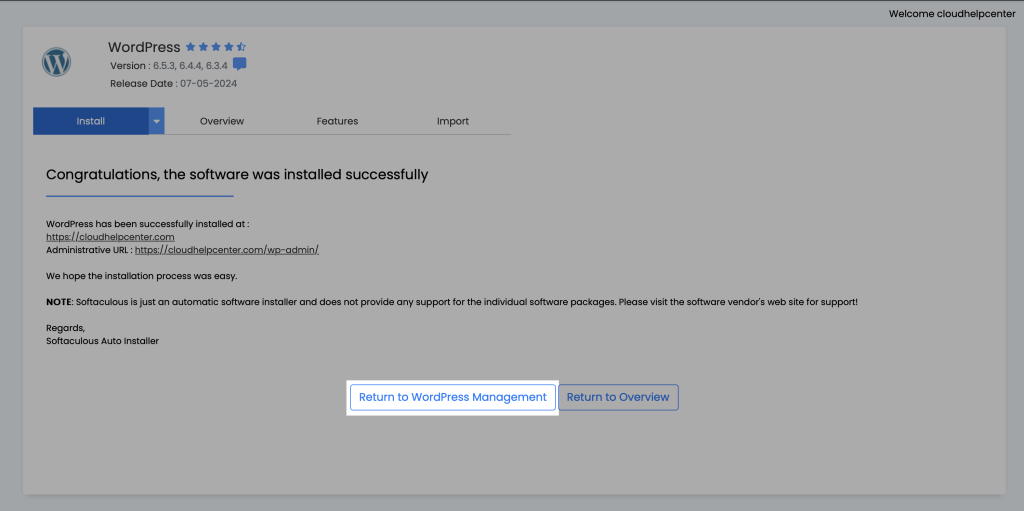
9. Click on the Return to WordPress Management button
10. At this point, you can click the Login button next to your WordPress admin dashboard or open a new window in your web browser to log in through the Administrative URL using your Admin Username and Admin Password.
⚠️ Note: If you see an SSL security warning, DNS may still be propagating or the SSL is being activated. Wait a few hours, and re-attempt a new login via a private web browser window.
❗If the SSL certificate doesn’t activate after awhile, go ahead and install your SSL manually.
